Showing posts with label DIY. Show all posts

16 January 2012

DIY Strip Lights

I've wanted strip lights for a while now, but the dang things are expensive, so I started in on a build to rig up a couple.


Here's what I used:
  • (2) 54" pieces of 4" PVC
  • (2) 4" PVC Caps
  • (2) 2" L-brackets
  • (2) 4" L-brackets
  • (4) Self-closing overlay hinges
  • (2) 1/4"x20 wingnuts
  • (1) 2' x 4' sheet of hardboard (clip board material) cut into 3" strips
  • (8) 1/8" aluminum rivets with a 1/4" grab
  • (16) Total feet of drop-ceiling L-channel
  • Some wood
  • Some screws
  • Some nuts, bolts, and washers

This is what they look like all done and whatnot:
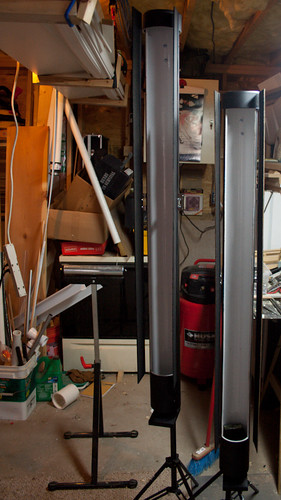
StripLights-20120128-1

Painted the insides gloss white, and the outsides and barndoors flat black.

Popped the flash:
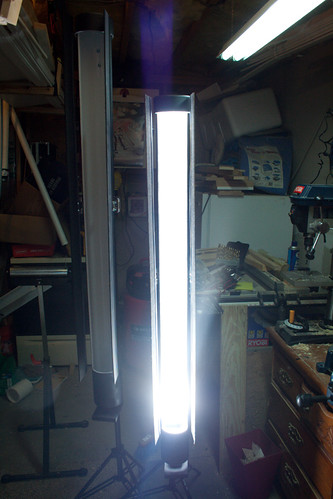
StripLights-20120128-2

Some burn at the bottom, but it's much more even than my first test shots. I have some small convex mirrors on order that I'm going to mount in the cap to try to even things out a bit.

This is a shot with the barndoors partially closed:
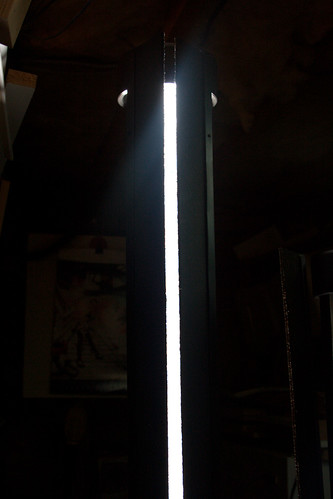
StripLights-20120128-4

And, finally, a shot with the door closed completely:
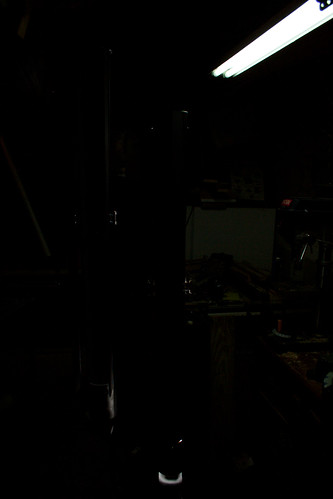
StripLights-20120128-3

Yes, the flash did fire - I'm pleased to see I have very little light leaking out.
23 April 2011

POTD 113 of 365

Following this tutorial on StudioLighting.net, I built myself a C-Stand today.

113_of_365

Total cost for the stand, pre-tax, from Home Depot, is under $60. To put that number into perspective, the big two camera stores in New York are selling mini Century Stands for around $100 each.

I did modify it a bit, by adding pipe insulation around the base, and ditching the casters. I also dropped two compression springs into the base to cushion the landing a bit if the top tube lets go.

I'm working on adapting a paint brush holder into a boom arm, because this is heavy enough to support a boom with very little counter-weight.

I'm also planning on building a second one of these in a very near future. Light stands are good.

03 February 2011

POTD 34 of 365

It's not about your camera.

It may, however, be about how steady you can keep said camera.

The iPhone has a halfway decent camera, and a ton of cools apps you can use to squeeze some respectable performance out of it. Below, find a picture of my everyday gear, taken with the iPhone and Camera+ (by TapTapTap...what an odd name).

034_of_365

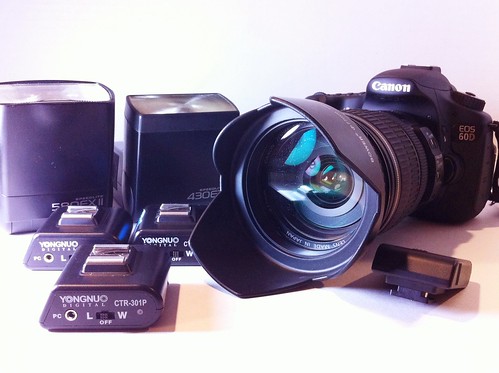
In it is the 60D with my normal lens, the magnificent 17-55 f/2.8 IS USM, the 580EX II, the 430EZ, the three cheapie triggers, and the transmitter.

I don't like the "lomo" look that I got here. It's not processing, it's just too much light too close to the gear. Frankly, it's a little dreamy for my liking, but, it's not terrible.

Light was provided by the worklight (which was still in the process of warming up, which may account for the overexposure).

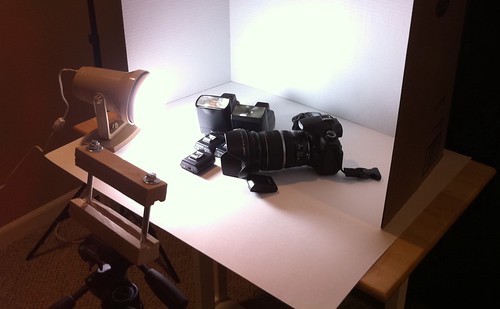
Setup shot is here:

034_of_365_SETUP

Wait...What in the name of Jeebus H. Macy is that...thing...on the tripod?

It's a very simple, very cheap, very quickly assembled mounting bracket I cobbled together for the iPhone. It's two 2x2s with an iPhone-width groove carved into them, held together with some obnoxiously-big bolts, and a 1/4x20 nutsert in the bottom for the tripod stud.

Slip the phone into the groove on the bottom, push the top piece down, tighten the nuts, and Bob's your uncle.

It's a lot like me - not pretty, but gets the job done.